Based on contributions by icorn.
URCaps let you add your own screens to PolyScope — a custom installation tab or program node with its own GUI, built in Java. Use this when a popup (How to create popups on a Universal Robots teach pendant) isn’t enough and you need a real interface embedded in the pendant.
What you need
- Java knowledge (and HTML, if you choose the HTML variant).
- A Windows PC with WSL (Windows Subsystem for Linux, e.g. Ubuntu from the Microsoft Store) or a native Linux machine.
- URSim (the UR simulator) and VirtualBox, so you can test on the simulator instead of the real robot.
- Visual Studio Code (works well with WSL folders).
- Maven, plus the other build dependencies listed in the manuals below.
- UR manuals: Swing tutorial (PDF), HTML tutorial (PDF), URCaps style guide (PDF).
Example interfaces built with URCaps:
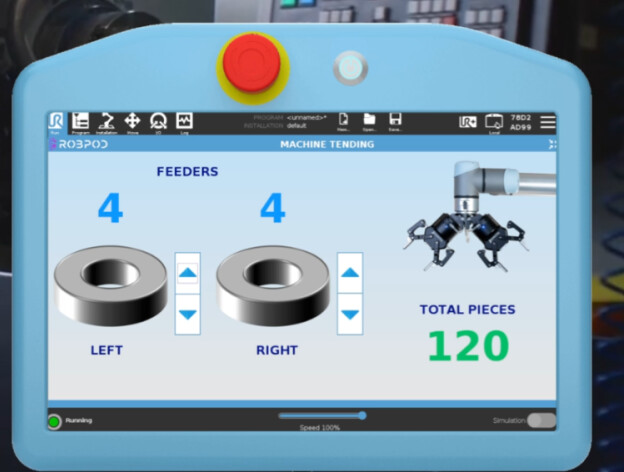
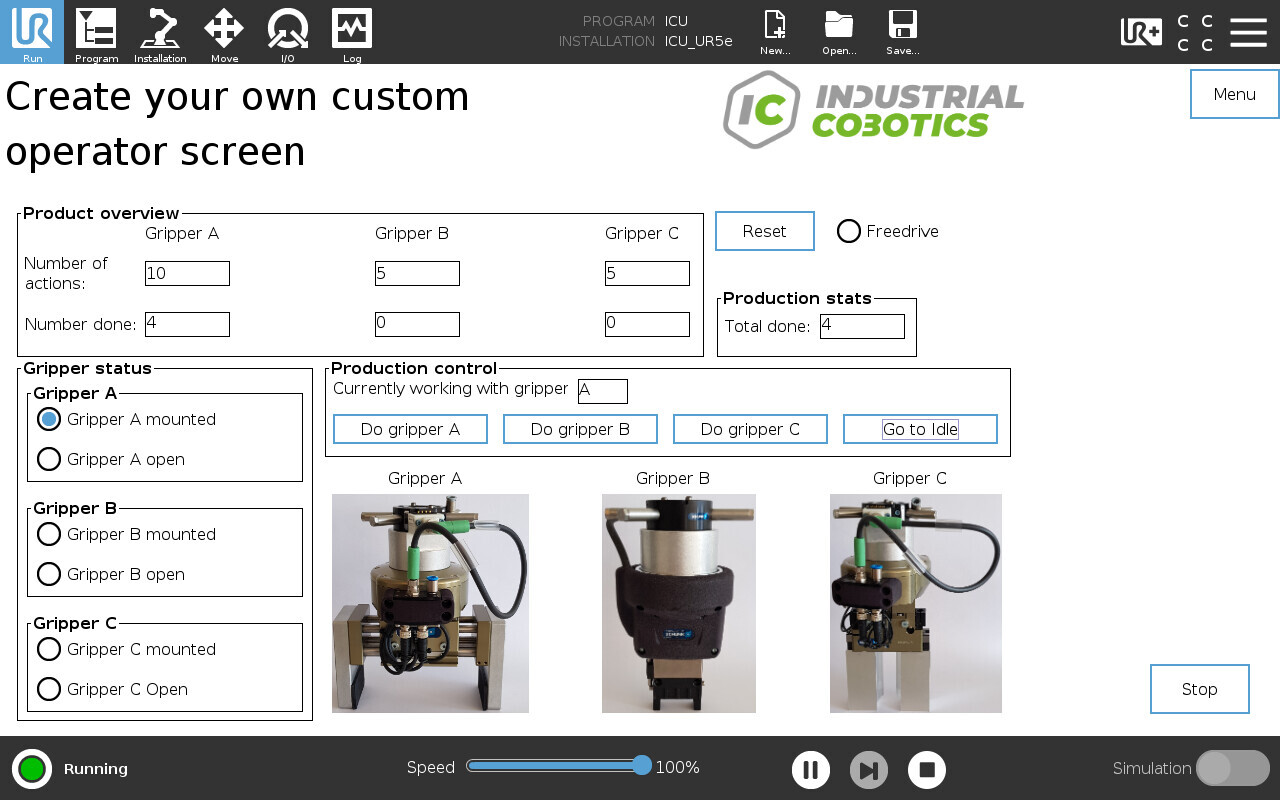
Steps
1. Decide if URCaps is the right solution
Before you start, be aware of the trade-offs:
- Requires real Java (and/or HTML) programming, not just PolyScope drag-and-drop.
- Many standard HTML elements are not available inside PolyScope’s embedded browser.
- Debugging is limited compared to a normal desktop Java/web project.
- Uploading a build to the robot takes about 30 seconds each time, which slows down iteration.
If you still need a native interface on the pendant after reading this, continue.
2. Choose Swing or HTML
URCaps code is Java-based. You can build the UI with either:
- Swing — a native Java UI toolkit. Better suited for more complex interfaces.
- Java + HTML — an embedded HTML view driven by Java. Better suited for simpler interfaces.
If you’re unsure, start with HTML for a simple interface and move to Swing if you outgrow it.
3. Set up the development environment
- On Windows, install a Linux environment: WSL with Ubuntu (from the Microsoft Store) is the simplest route.
- Install the dependencies listed in the Swing or HTML manual inside that Linux environment.
- Install URSim and VirtualBox so you can test on the simulator instead of the physical robot.
- Install Visual Studio Code and open your project folder through the WSL remote connection.
4. Understand the project structure
A URCaps project is a standard Java/Maven project with a pom.xml at its root. At minimum you will have:
- an Activator class,
- a Communicator class,
- a View class,
- a Service class.
Existing open-source URCaps projects on GitHub are a good reference for how these pieces fit together — it takes a while to get comfortable with the structure, so start from a working example rather than a blank project.
5. Compile and upload
From the root of your URCaps project, run one of:
# install onto a real robot
sudo mvn install -Premote

# install onto URSim (the simulator)
sudo mvn install -Pursimvm
Before running either command, check the IP addresses configured in pom.xml — they must match the machine you’re deploying to (real robot vs. simulator VM), or the upload will fail or go to the wrong target.
Related
- How to create popups on a Universal Robots teach pendant — a lighter-weight alternative when you only need a message, not a full interface.
- How to install and control a Robotiq gripper on a UR robot — an example of a URCap (the Robotiq gripper URCap) installed and used from the pendant.
Rewritten and consolidated (Sept 2026) from the original student how-to’s: Create a custom interface on a Universal Robot teach pendant.