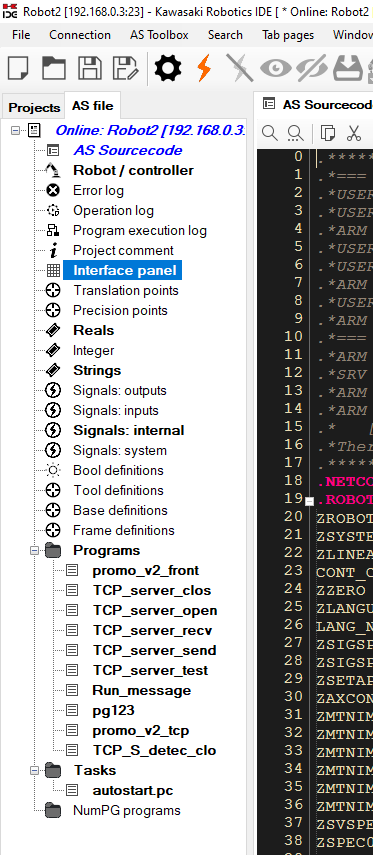
Step 1:
Go to the interface panel tab in the KIDE program.
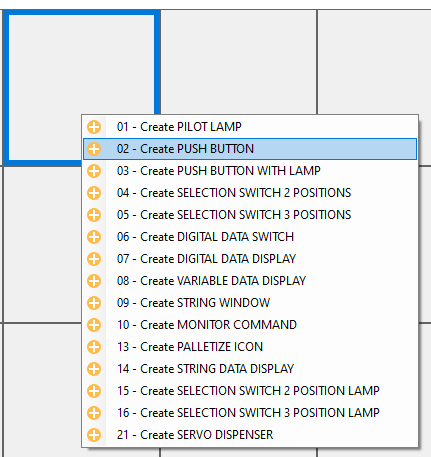
Step 2:
Select a panel to edit. By double clicking the panel you can add a panel type.
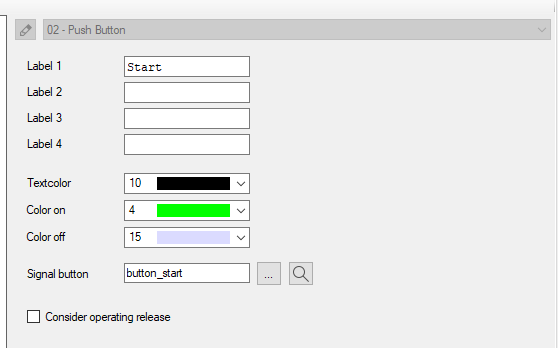
Step 3:
Configuration of the panel. This is an example to create a start button on the teach pendent.
Label 1: first line of text
Label 2: second line of text
Label 3: third line of text
Label 4: forth line of text
Then you can change the “Texcolor”
The “Color on” is the color of the butten when pressed
The “Color off” is the color of the butten when released
“Signal button” is the most important value. With this value you can read the state of the button. This is defined at step 4.
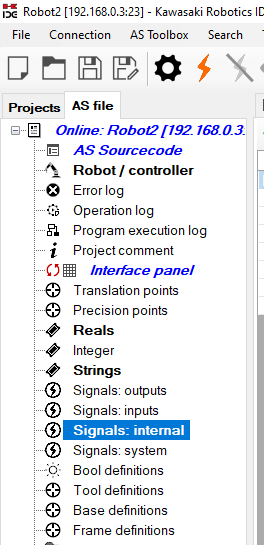
Step 4:
In the signals internal you can add an aditional signal. When you choose a number you need to keep in mind that most signal numbers under 2130 are reserved or sometimes in use by the controller itself. Please use a number between 2130-2999. Never use the same number twise. This number is a memory address and that can create random unpredictable behaviour.
Step 5:
To use this in the code you can use this example:
WHILE TRUE THEN
  IF SIG(button_start) == TRUE THEN
    PRINT "Value True"
  ELSE
    PRINT "Value FALSE"
  END
END
This code will loop forever and print the value of the button.