Based on contributions by Youri_Beugelsdijk.
Modelling a conveyor belt from scratch is unnecessary work when free, configurable CAD models already exist online. This shows how to find, customize, and download a conveyor model for your production-line layout using PartCommunity.
What you need
- A CAD package that can import STEP or IGES files.
- A free account on b2b.partcommunity.com.
Steps
1. Create a free account
Register for a free account on b2b.partcommunity.com. This gives you full access to the download and configuration tools.
2. Search for a conveyor belt
Use the search bar to look for “belt conveyor systems” — you’ll see various types suited to different applications. If you already know the brand and model you need, search for it directly. For a standard conveyor belt model, you can also use this direct link.
3. Customize the dimensions
Once you’ve selected a conveyor model, modify the dimensions and configuration to fit your design: length, width, motor placement, and other available settings.

4. Download the CAD file
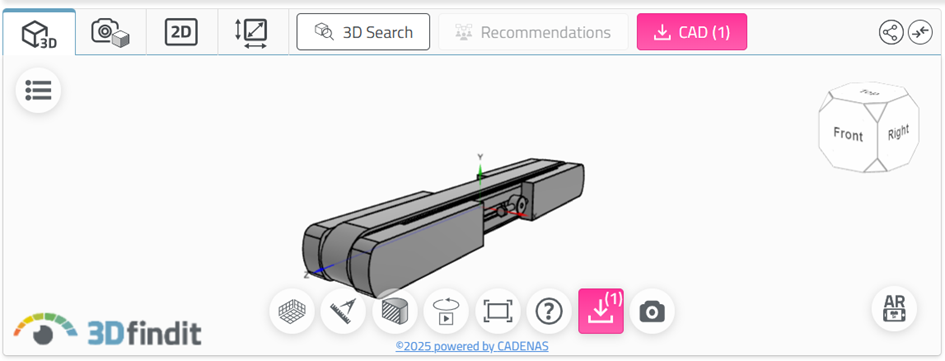
After customizing the part, scroll to the overview section and click the pink CAD button. Download the model in the file format you need (STEP, IGES, etc.) and import it directly into your CAD software.
Common mistakes
- Downloading a part without checking it against your full assembly first — always verify the downloaded part actually fits your layout before committing to it.
- Not saving your custom configuration while logged in — save it so you can revisit or adjust the same conveyor setup later instead of reconfiguring from scratch.
Related
Rewritten and consolidated (Sept 2026) from the original student how-to’s: How to Easily CAD Design a Conveyor.