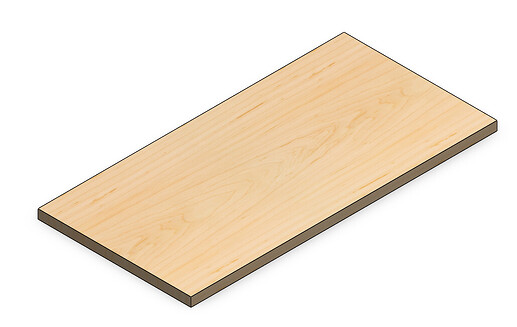
The workshop has a lasercutter which is free to use, it can be used to cut plates of wood to specific demensions. They have diffrent sizes of wood (3, 6, 9, 12 mm) keep that in mind while designing your part.
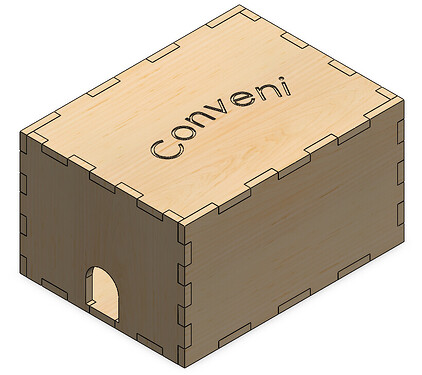
Exemple part:
designing your part:
As stated before make sure you choose 1 of the following thicknesses:
- 3mm
- 6mm
- 9mm
- 12mm
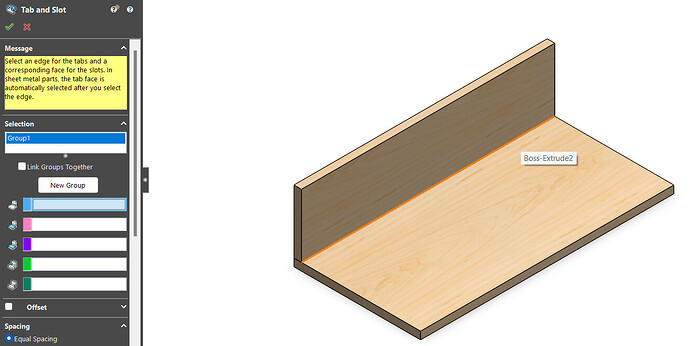
if you want to join 2 parts I recommend the Tab and slot function. You can find it under the topic sheet metal.
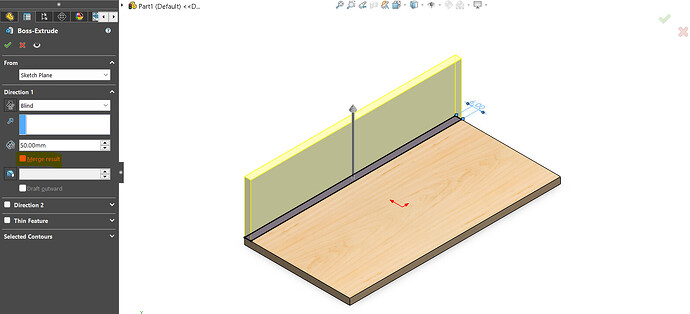
When extruding a new body make sure merge results is turnt off
after extruding a new body select Sheet Metal and Tab and Slot
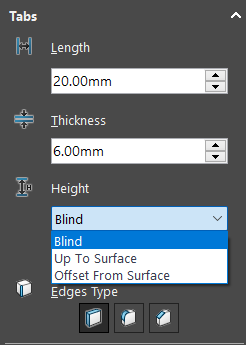
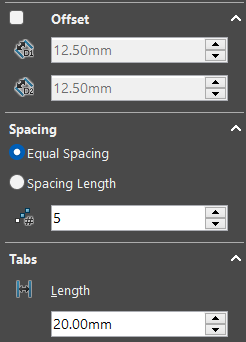
after selecting Tab and Slot make sure the height of the Tabs is set to blind
select the first variable (the blue one) and select the insid line between the 2 parts
for the second variable (pink) select the face you want the slots to be in. if done correctly the rest sould be filled automaticly.
Play with these variables to get the desired result
save your part
when your part is finished, it has to be saved to a usb drive so you can uload it to the laser cutter.
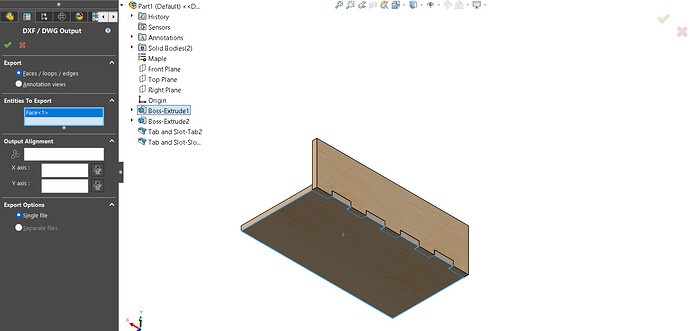
Save the part as a Dxf (*.dxf) file. I would recomend to have the size of the wood and amount you need in the part name

After you press save a menu will appear select Faces/loops/edges and select a single face that the laser cutter has to cut out and press the check mark and save if the rsult looks good.
Do this for every face you want to cut out.
Uploading your parts
You can upload your parts by yourself but the workshop will cut them for you. They collect batches of parts and cut them all at the same time so check in a few times after uploading your parts.
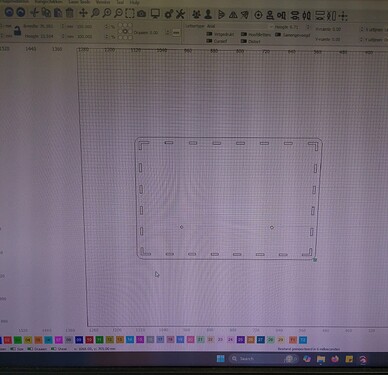
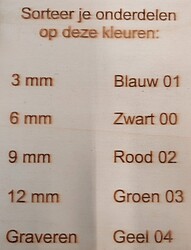
Bring your usb drive to the PC and plug it in the usb port. click and drag your files on to the program, give each part the colour that corresponds with your thicknes. now you just have to wait for them to be cut out
3mm = blue 01
6mm = black 00
9mm = red 02
12mm= green 03
engrave = yellow 04
