Modeling bolts nuts and other fastening hardware can be challenging and time-consuming. Lucky SOLIDWORKS has already done that for you. In this how-to, I will explain how to access them.
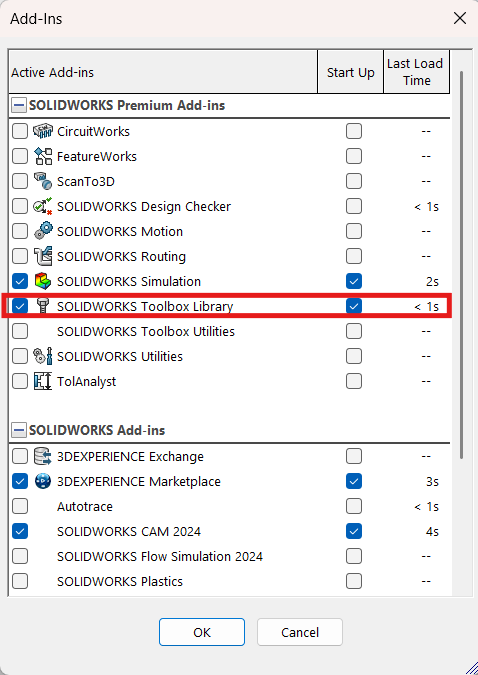
First, make sure you have the toolbox library enabled. Go to add-ins and enable SOLIDWORKS Toolbox Libraryand press ok
Note: you can only import parts from the toolbox into an assembly
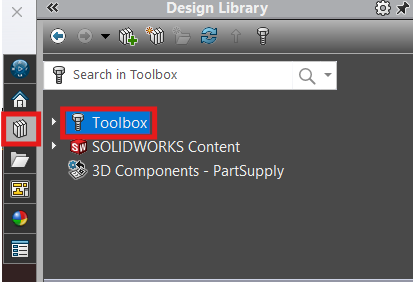
When you are in an assembly where you want to import, go to the Design Library (the 3 books) on the right of your screen and open the Toolbox.
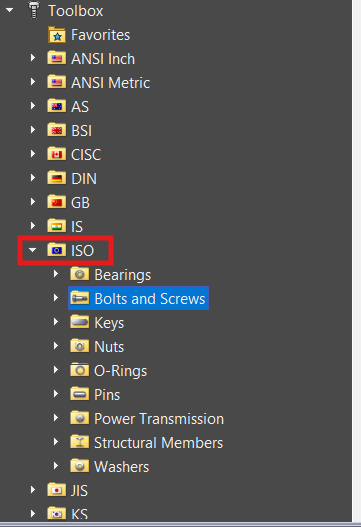
Go to the ISO file for all European parts, open the file of the type of part you want to import and search for the right version Note: the size and length will be defined later.
Drag your part to the desired location. SolidWorks will snap it and mate it if it finds a fitting spot. You can also do this manually, but it is faster to let SolidWorks do it when doing multiple parts. The size might not be completely correct but this can be adjusted. Do keep in mind that not all parts are available in every size
When your part is positioned correctly you can release it. A menu will now open where you can select the size and length.
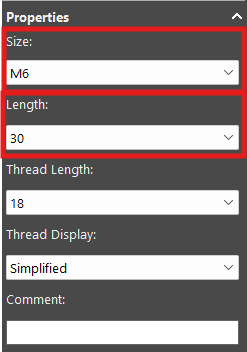
After you have selected the right dimensions press the check mark. You will now have the option to place more of the same part, do so if necessary, and press the cross when done.