This is a how to for making a 2D drawing from a 3D part or assembly in SolidWorks to mill or machine a part as needed.
1. Open Your 3D Model
- Launch SolidWorks and open the part (.SLDPRT) or assembly (.SLDASM) file you want to create a 2D drawing from.

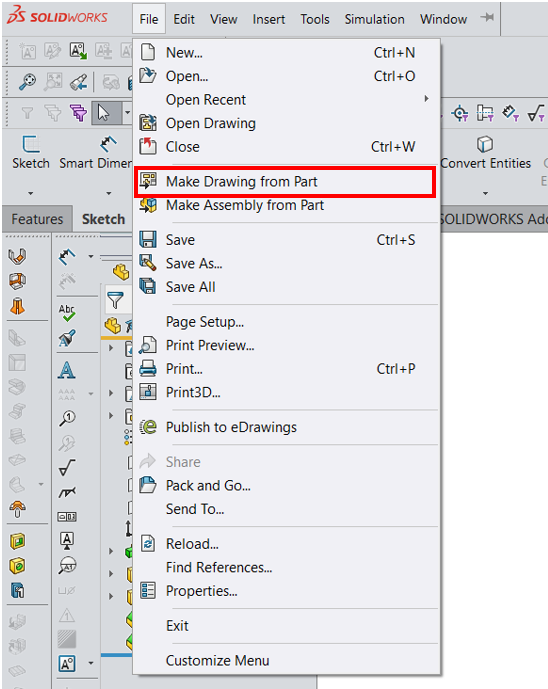
2. Start a New Drawing from Part
- Go to File > Make Drawing from Part.
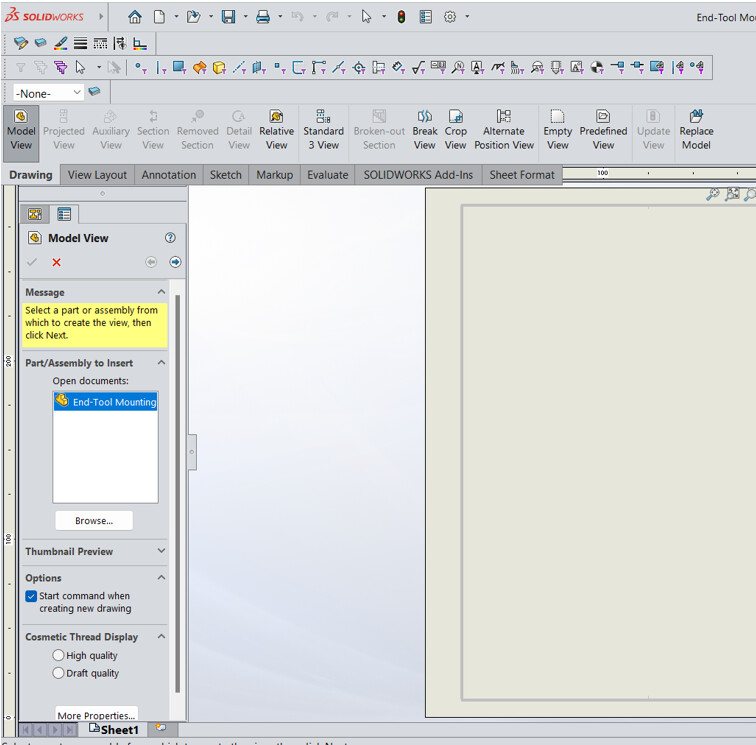
3. Insert Standard Views
- In the Model View window that appears:
-
Select your 3D model file.
-
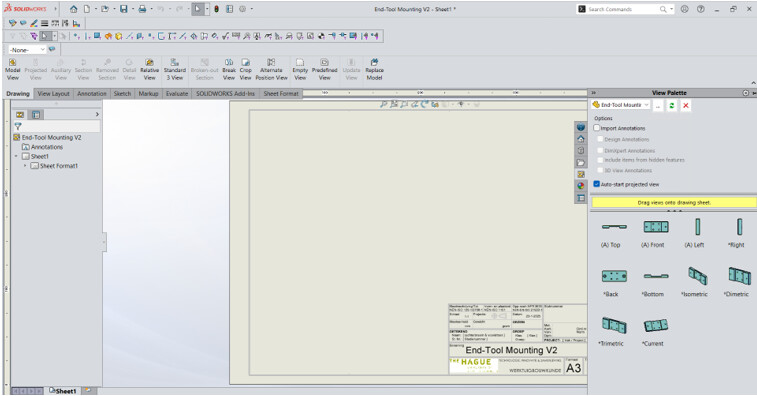
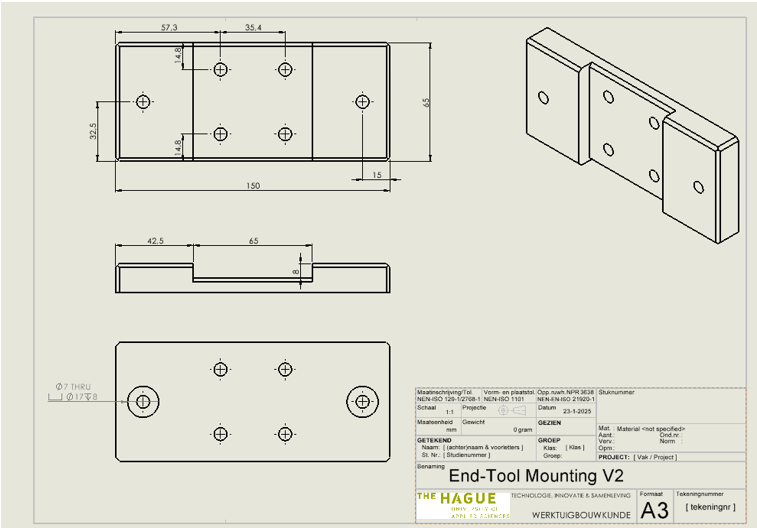
Drag and drop the desired views (e.g., front, top, side) onto the drawing sheet. You can choose the desired views from the View Palette which you can see on the right side of the screen
-
You can add additional views by selecting Projected View and dragging projections (e.g., isometric or auxiliary views).
-
4. Add Dimensions
- Go to the Annotations tab and click Smart Dimension.
- Click on edges, holes, or other features of the model to place dimensions automatically.
5. Add Other Annotations (Optional)
- Add details like centerlines, center marks, or notes from the Annotations toolbar.
6. Save the Drawing
- Save your 2D drawing as a SolidWorks Drawing file (.SLDDRW) or export it to another format, such as:
- PDF : Go to File > Save As, select .PDF.