How to make you’re Item Profile setup in CAD
Step 1: Visit the Website
Go to the official item24 website.
Once on the website:
- Open the menu.
- Navigate to Online Tools → Engineering Tools.
- Log in with an account.
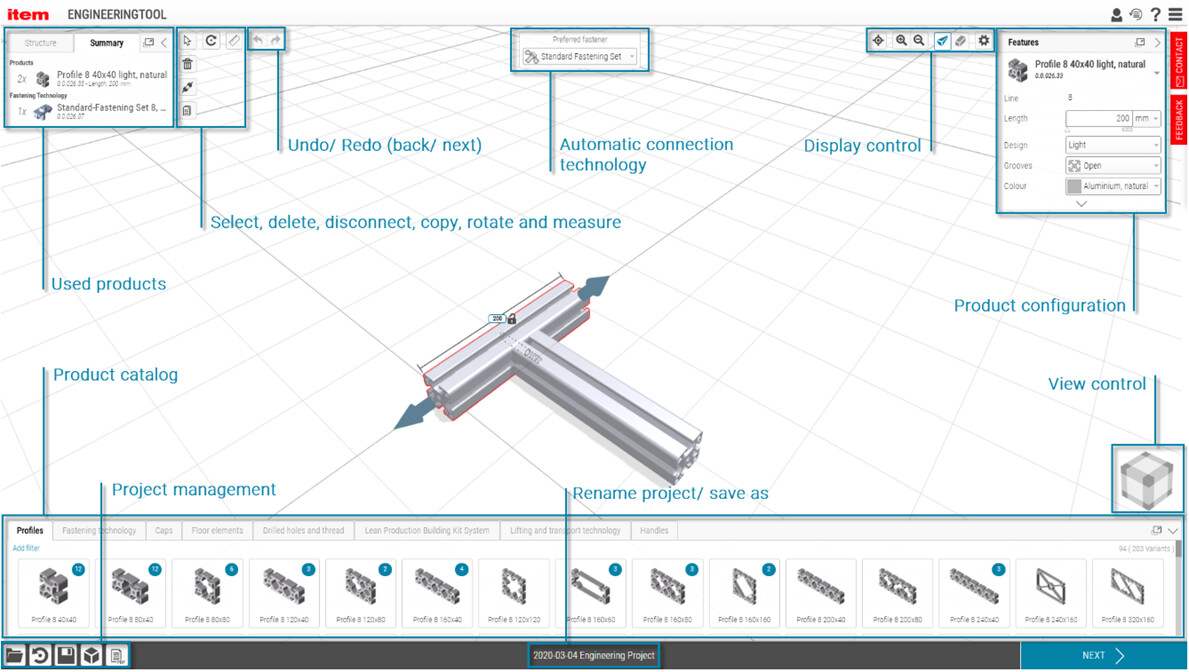
Step 2: Interface Overview
After logging in, you’ll see the main interface.
Step 3: Basic Usage
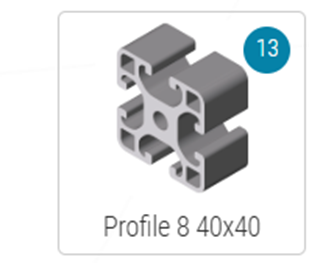
To use an Item profile (like the one used in the Minor project):
- Drag the desired profile into the design area.
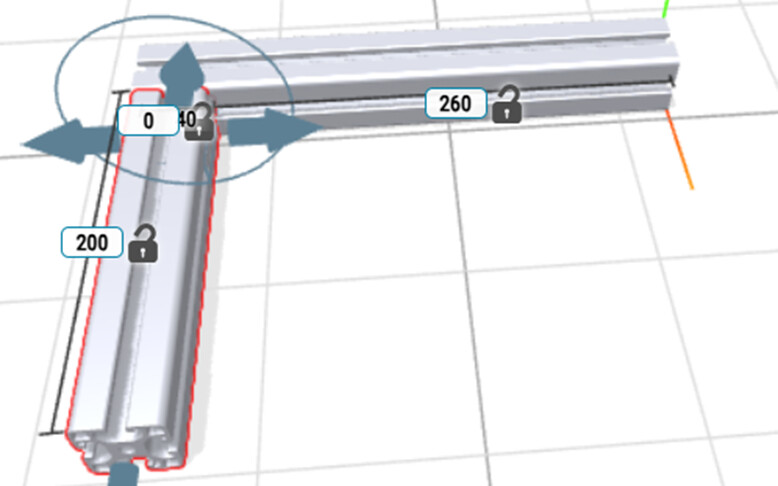
- You can adjust the length of the profile.
- To connect profiles, simply drag one profile close to another – they will automatically lock together.
See the example image below for reference.
Step 4: Advanced Options
For more advanced features and design options:
- Click the question mark icon at the top-right corner of the screen.
- You can also watch tutorial here below.
Tutorial Playlist:
Item Engineering Tool Tutorials
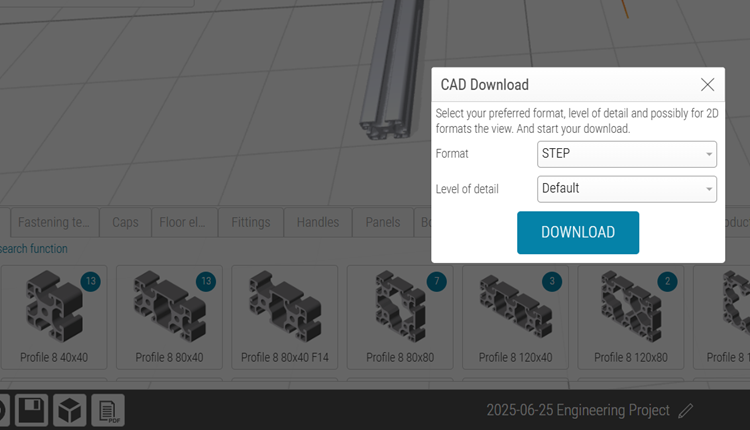
Step 5: Exporting to CAD (e.g., SolidWorks)
Once your design is ready:
- Click the cube icon at the bottom left corner.
- Choose to download your design as a STEP file or another format compatible with your CAD software.
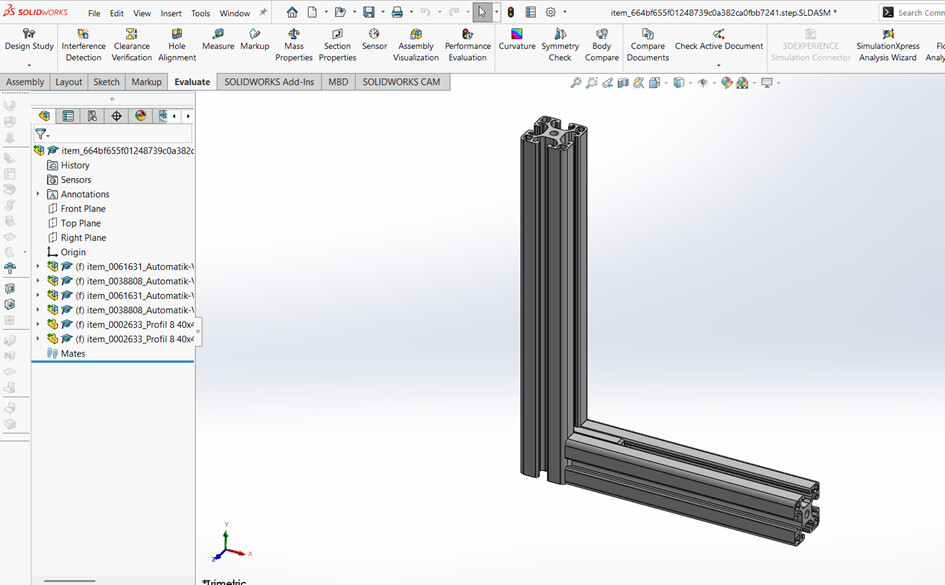
Step 6: Import to SolidWorks
- Open the downloaded file in SolidWorks (or your preferred CAD software).
- You can now integrate the item profile into your full design.