CAD design tips
Print orientation
One of the most important things you need to think about when designing for 3D printing is print orientation. The best scenario would have a big flat bottom surface so there’s plenty of bed adhesion to prevent your print from failing. Too small surface area could lead to the print coming loose or parts of the print warping. There are other ways to prevent this like using products on the print bed to increase grip or using slicer features like brims or rafts. The latter could however lower the quality of your print so it’s usually best to avoid them if you can.
Elephants foot
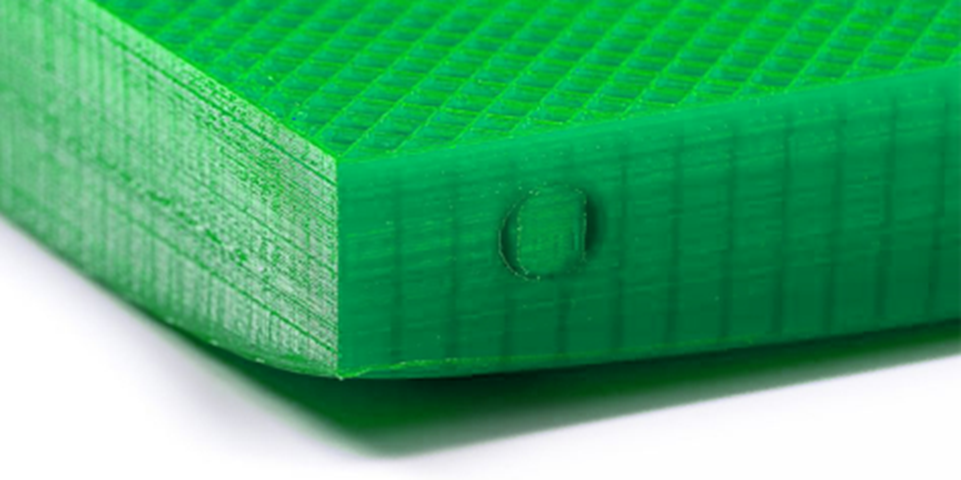
Another thing you must worry about is that not all printers are calibrated perfectly. Some could have print artifacts that can easily be avoided by designing it slightly differently. For example, a very common issue is called elephant’s foot. This is where the first layer is squished too much and gets pushed outwards making the bottom of your print bulge out. This can easily be avoided by adding small chamfers on the bottom surface. I usually go for 0.4mm so the first 2 layers are compensated.
Supports
Of course, you also want your parts to look good, so another tip is to avoid supports. These usually leave ugly surfaces behind because of the space in between the part and the support. These spaces are necessary to prevent the support from fusing to the part. To prevent this, try to design parts without needing support.
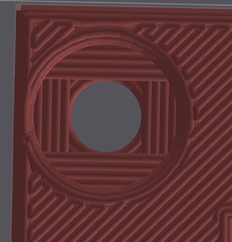
Keep overhangs at 45° or less. Depending on the printer’s capabilities you can go higher but usually 45° is a good threshold.
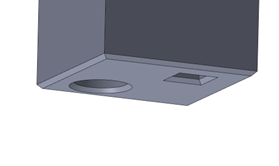
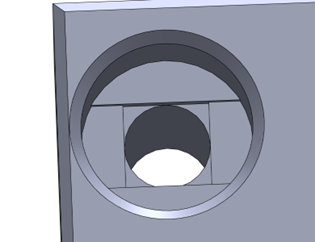
Use bridging to your advantage. Printers are usually not capable of printing in midair but if it’s a straight line that’s supported on both sides, it can still work out just fine. There are some clever ways to manipulate a printer into printing straight overhangs by using bridging. Like the countersunk holes below. You can make small cutouts of 0.2mm increments to force bridges next to features that would usually be in midair.
If supports are unavoidable, try adding your own supports. Maybe it only needs a couple tabs to keep something from falling over, or you just don’t want to mess with the support settings in the slicer. Adding supports to the 3D model directly can make them print better in the way you intend to use them without wasting too much material.
Make it modular
3D printing is perfect for quick prototyping because it has a very quick turnaround time, but the actual printing is very slow compared to other production methods. It’s therefore important to save time where you can. Making a part that takes several hours to print and then finding out there’s one small dimension that’s slightly off is quite a big setback. Instead, you can split it into several parts so if one of them is wrong or it breaks you only have to reprint that single part.
Use hardware
For strength
3D prints are anisotropic. This means they have different material properties depending on the orientation. They are a lot weaker along the layer lines for example. If you need your parts to be strong, the best way to improve that strength is by adding external hardware. Use bolts for stiffness or use nuts or threaded inserts for connection points.
For precision
Another problem with 3D printing is that it’s not the most accurate production process. Tolerances of 0.1mm or less are almost impossible to achieve even with a properly calibrated printer. It’s therefore a better idea to use hardware like bearings, pins or bushings for a connection that needs very tight tolerances.