Step 1
To set up the Rasberry Pi 5 some material need to be gathered:
- Raspberry Pi (better if used with a case)
- Power suply for Raspberry
- MicroSD card (minimum 32GB)
- MicroSD card reader
- Keyboard
- Mouse
- Monitor (HDMI-compatible)
- HDMI to micro-HDMI cable)
- Computer
Step 2
In order to be able to use the Raspberry Pi, an Operating Sistem must be installed.
- Visit the official Raspberry Pi website: https://www.raspberrypi.com/software/
- Download the Raspberry Pi Imager on your computer.
Step 3
-
Insert the MicroSD card into the Micro SD card reader. Plug it on to your computer.
-
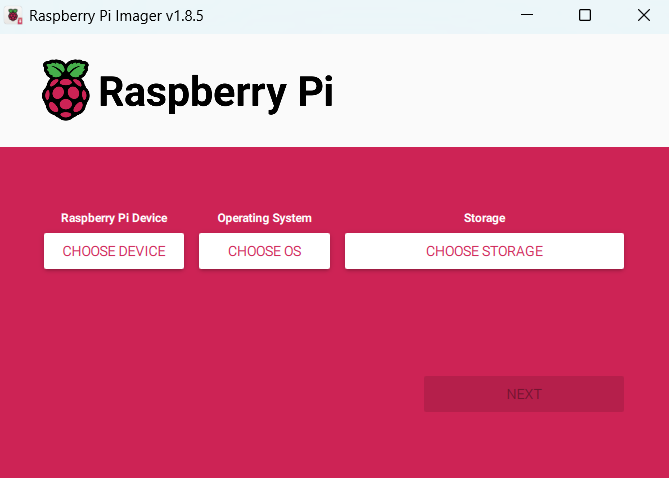
Launch the Raspberry Pi Imager app.
-
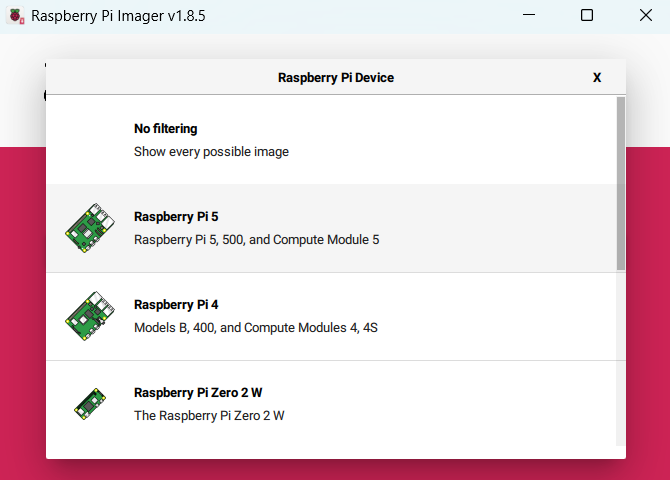
Choose the correct device, in this case Raspberry Pi 5
-
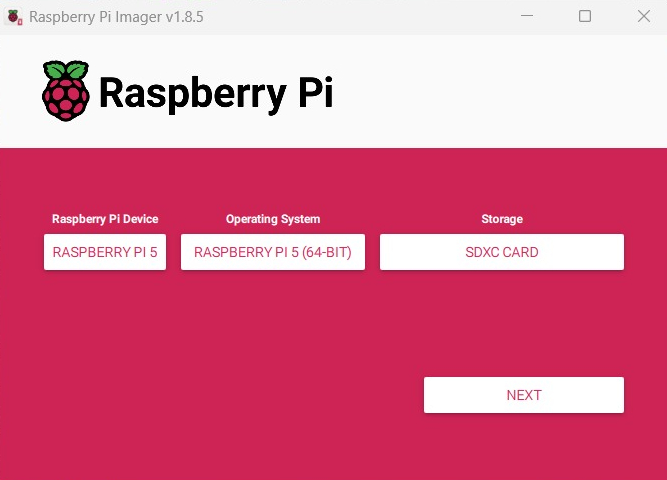
Choose the Operating System to download → A menu with multiple options will be displayed, select the one that you wish to download. In this case, Kali was chosen.
-
Choose the MicroSD card as the storage.
-
Click “next” top flash the OS into the MicroSD card.
Step 4
To boot up the Raspberry Pi, the following steps must be followed:
- Insert the MicroSD card into the Raspberry Pi.
- Connect the monitor, keyboard and mouse to the raspberry.
- Plug in the power suply to boot the Raspberry Pi.
- Follow the on-screen setup or if using Kali as the OS, wait until the setup is completed.
- If using Kali:
- Username: kali
- Password: kali
- If using Kali:
Step 5
In order to be able to user the Raspbery Pi, a Wifi connection needs to be set up.
- The Security needs to be set to: WPA & WPA2 Enterprise
- The Authentication needs to be set to: Protected EAP (PEAP)
- Click on “No CA certificate is required”
- The PEAP version need to be set to: Automatic
- The Inner Authentication need to be set on: MSCHAPv2
Lastly, insert you username and password and click on “Connect”.