Based on contributions by BoazvdV.
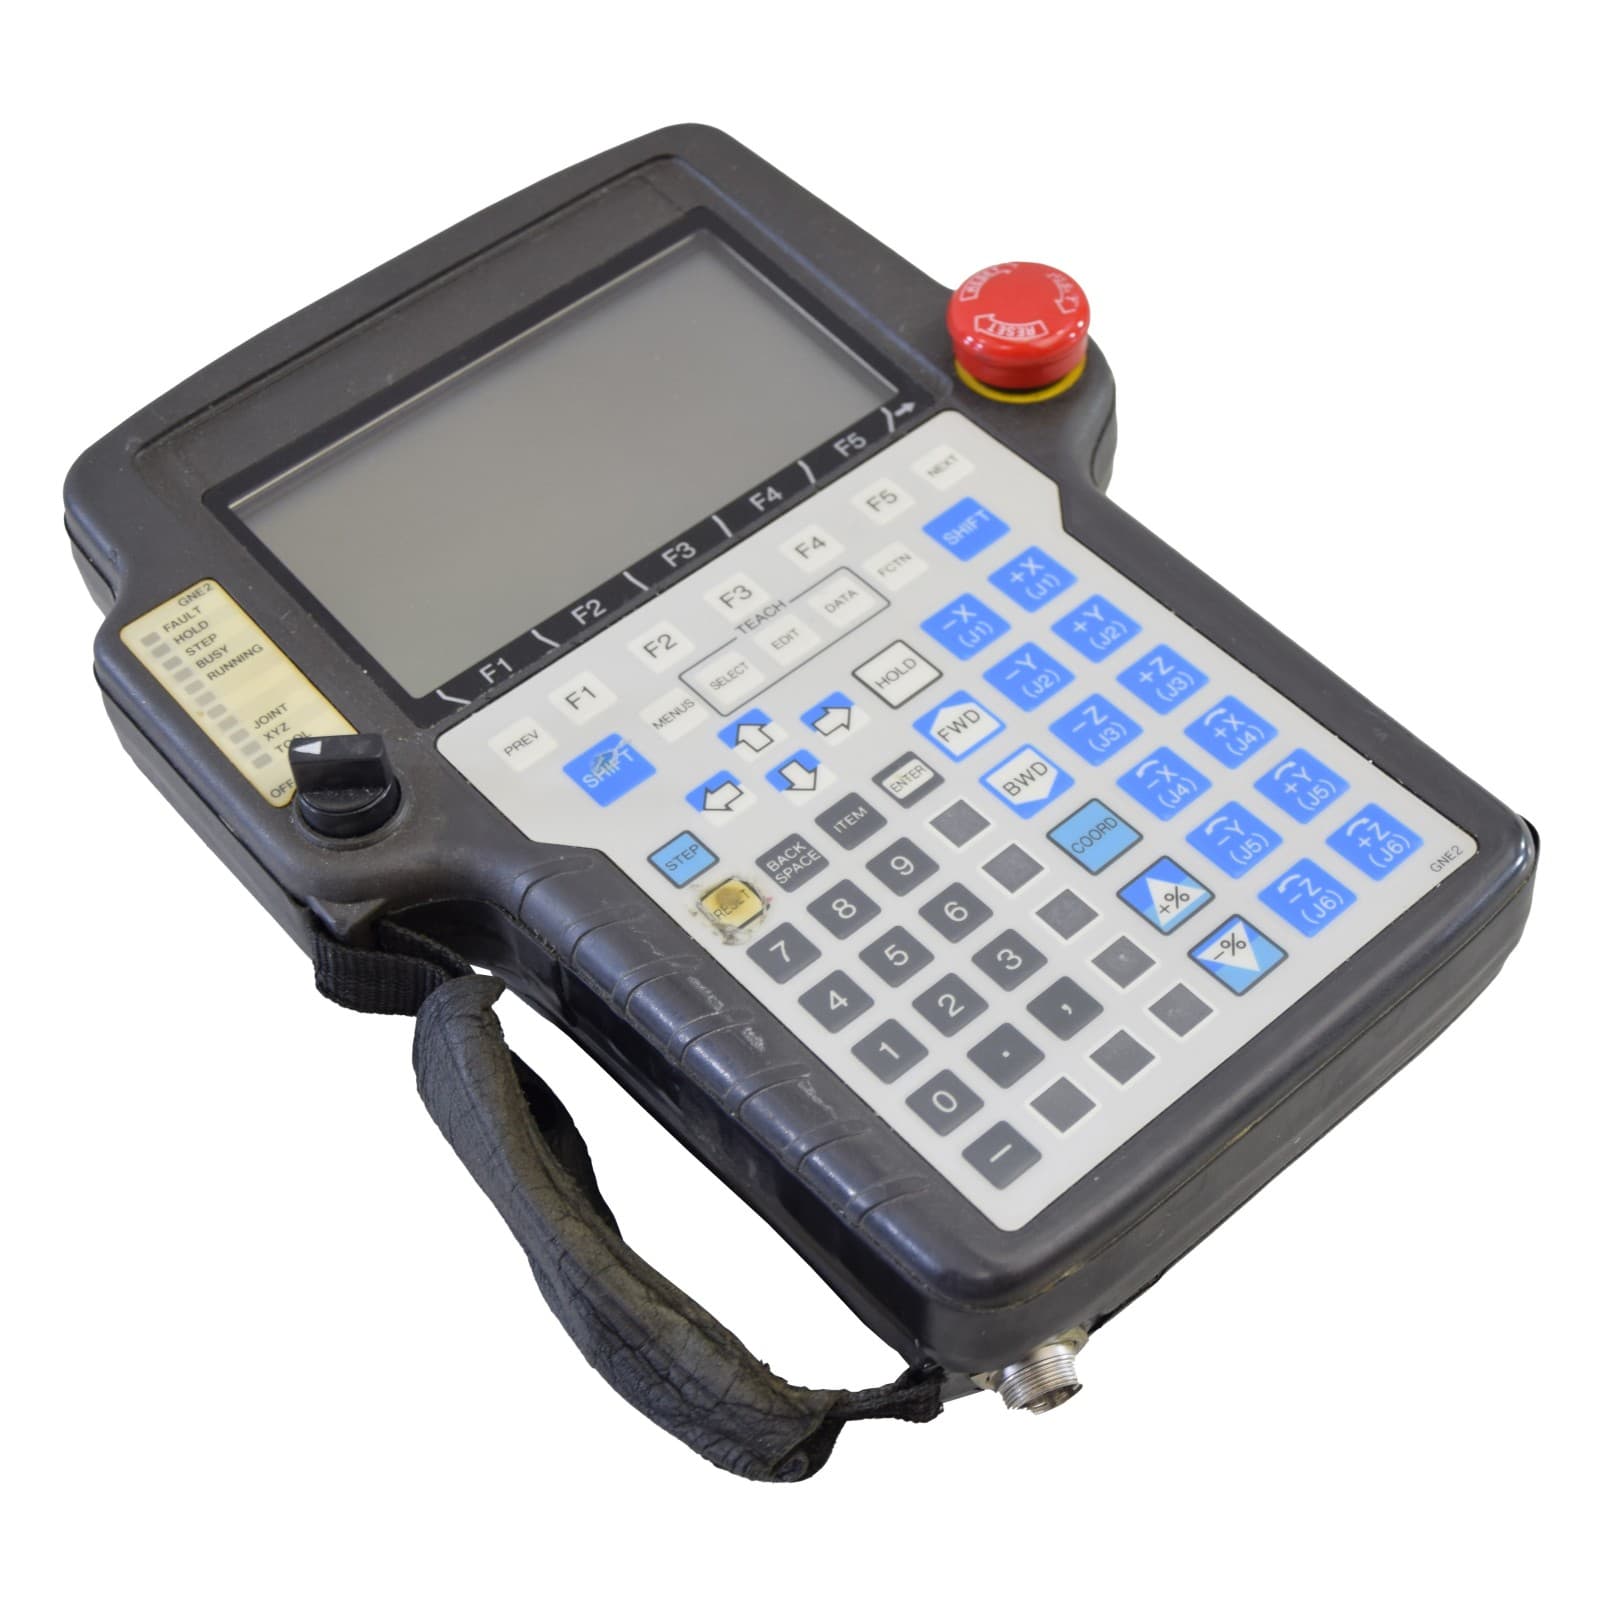
A style guide for writing readable, maintainable programs on a FANUC teach pendant. Based on an S-430i robot (year 2000, SYSTEM R-J3), but the conventions apply to most FANUC teach-pendant programming.
Why this matters more on FANUC SYSTEM R-J3
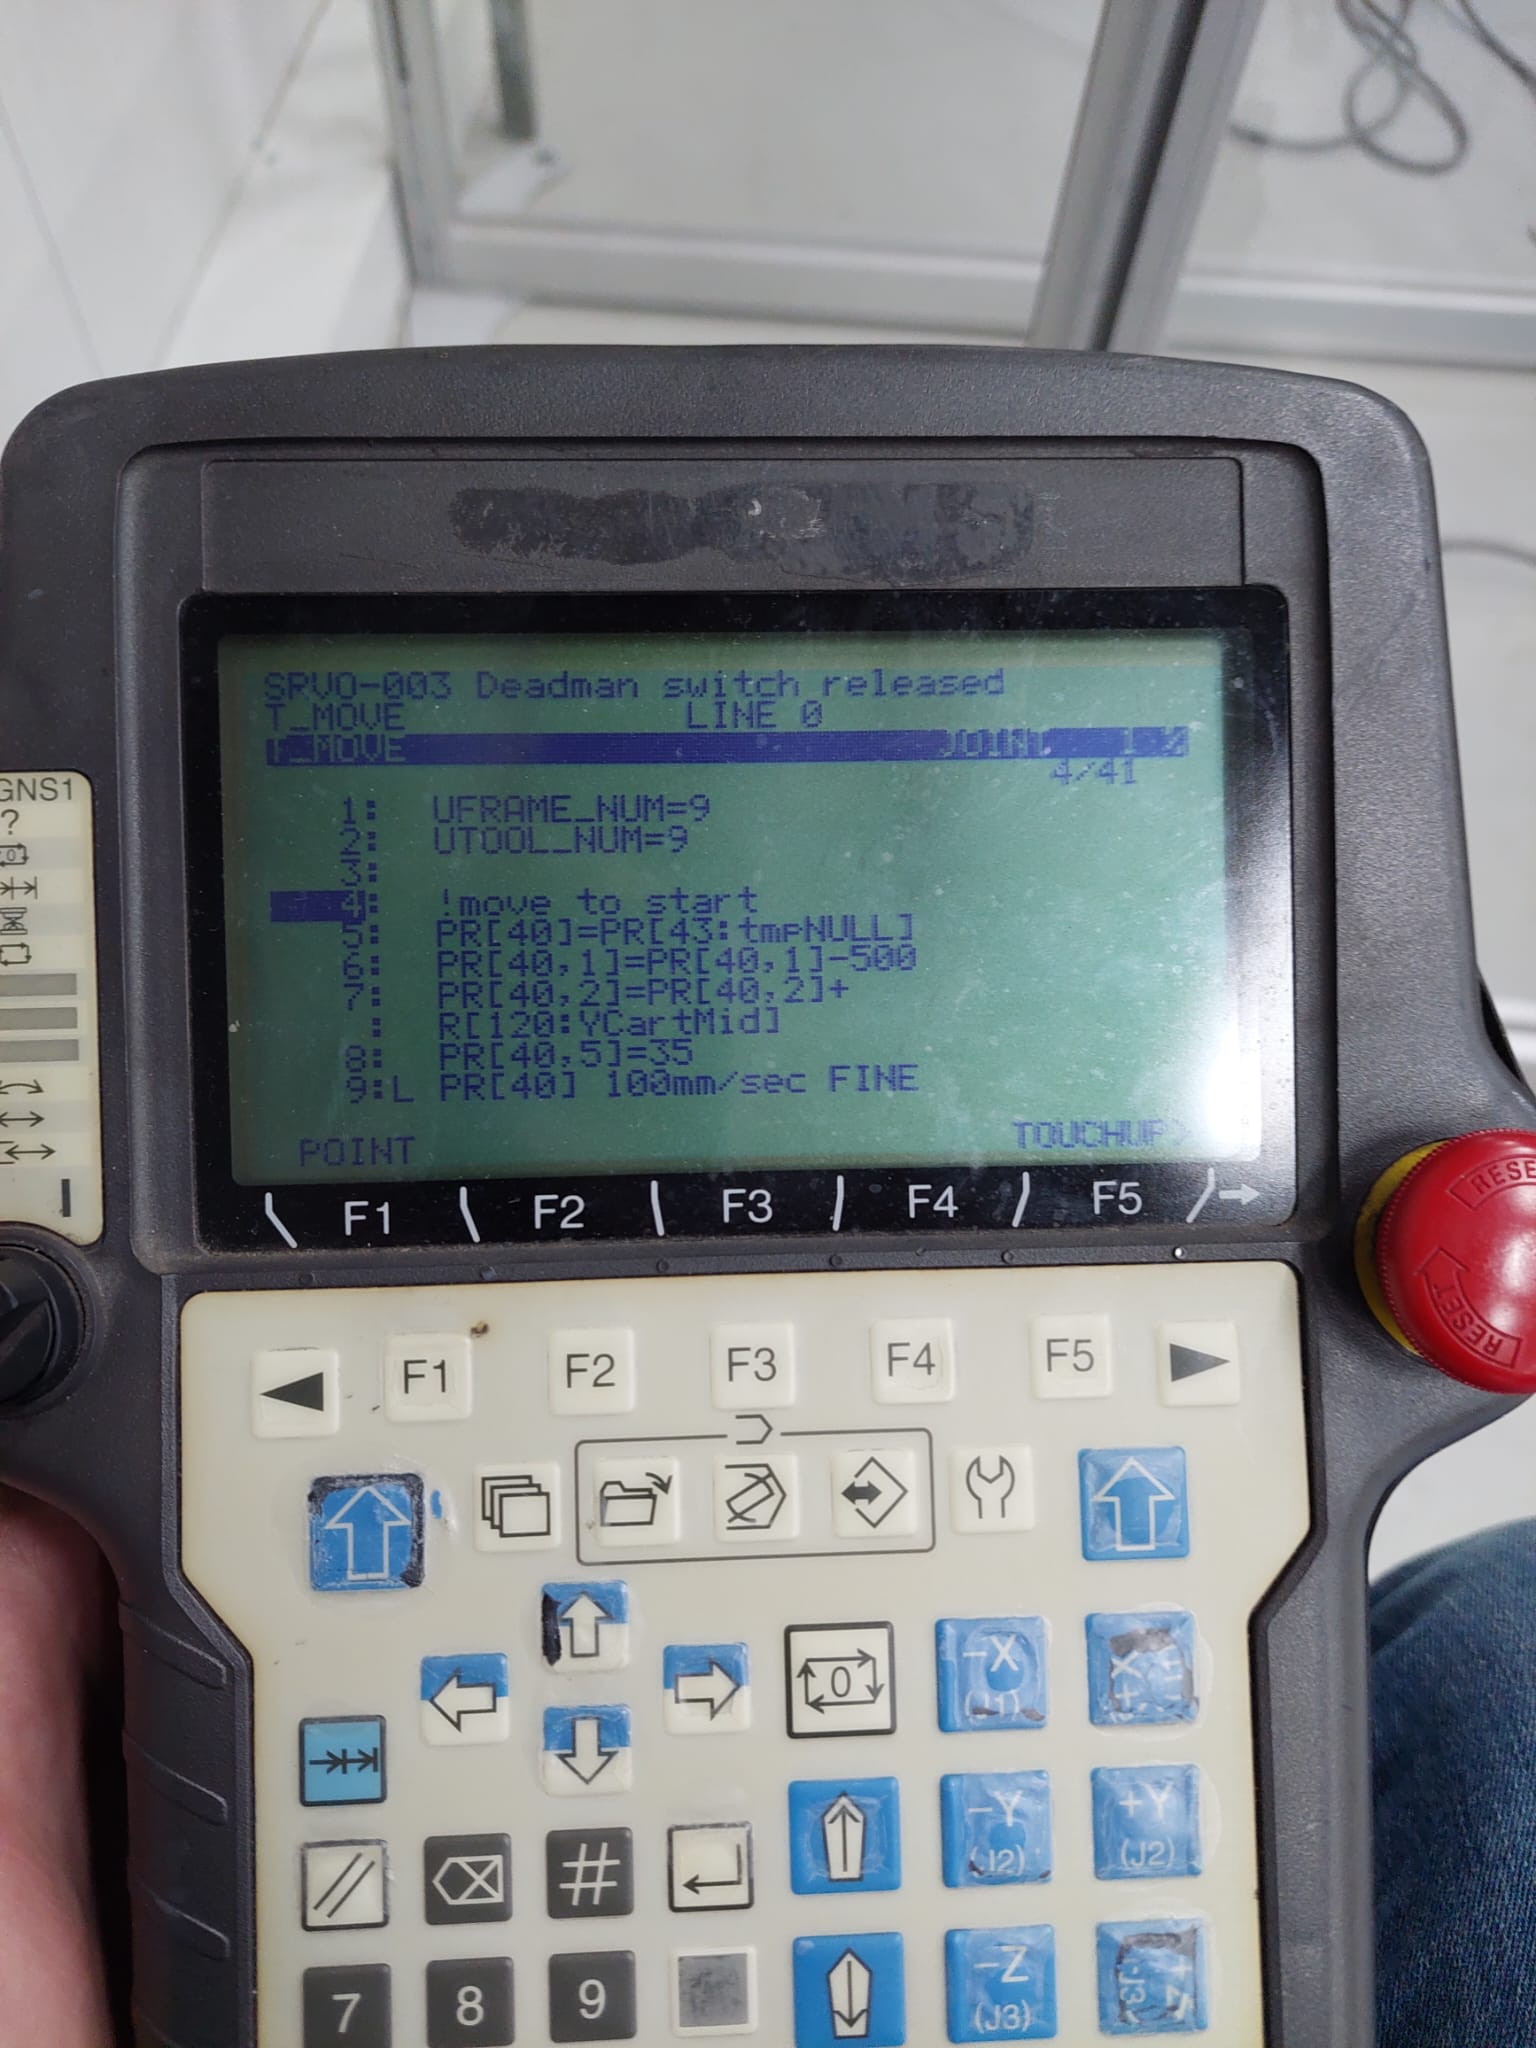
This system lacks modern communication interfaces and open software support (no ROS integration). Programming happens directly on the teach pendant (TP), the program is encrypted and can’t easily be exported over cable, and the screen shows only 10 lines at once. Good structure and naming make the difference between code you can still navigate on that tiny screen and code you can’t.
What you need
- A FANUC robot with teach pendant access to the program editor
Steps
1. Before writing
1.1 Agree on a consistent coding style
- Language: pick English or Dutch consistently for names and comments, and stick to it across the project.
- Variable format: fit the format to your screen size. With a small screen, prefer camelCase or PascalCase; use snake_case for clearer word separation and ALL_CAPS for constants.
1.2 Agree on consistent, clear naming
Names should convey intent clearly.
- Variables: short but descriptive, e.g.
targetPosinstead oftp. - Functions: use action verbs, e.g.
checkLimits.
1.3 Structure code in sections
KAREL on the TP can’t define reusable functions, but separate programs can be used the same way. Split logic into programs called from MAIN to avoid cluttering a single file:
MAIN
  GETBASE
  PICKPOLES
  PLACEPOLES
  ...
Split your project into at least MAIN and supporting programs. MAIN should contain, in order:
- Initialization — define variables and defaults.
- Setup — configure parameters.
- Main logic — kept modular, calling out to other programs.
- Cleanup — handle shutdown.
2. While writing
2.1 Organize code in blocks
Group related lines together, and separate unrelated ones with a blank line.
2.2 Comment thoughtfully
Keep comments concise and explain why, not just what. Flag temporary workarounds explicitly so you don’t forget to fix them — “nothing is more permanent than a temporary solution.”
2.3 Limit line length
On a large screen, split long lines so they stay readable. On a TP without a keyboard, keep lines and names short — every extra character costs time to type.
Bad example
!Moves down at an angle and then
!tilts back while moving sideways
PR[1] = LPOS
PR[1,3] = PR[1,3] - 75
PR[1,5] = 35
L PR[1] 100mm/s FINE
PR[1] = LPOS
PR[1,5] = 0
PR[2] = LPOS
PR[2] = PR[2] - PR[2]
PR[2,1] = 100
L PR[1] 100mm/s FINE Tool_Offset, PR[2]
Good example
!move down tilted
PR[1] = LPOS
PR[1,3] = PR[1,3] - 75
PR[1,5] = 35
L PR[1] 100mm/s FINE

!tilt back to side
PR[1] = LPOS
PR[1,5] = 0
PR[2] = LPOS
PR[2] = PR[2] - PR[2]
PR[2,1] = 100
L PR[1] 100mm/s FINE Tool_Offset, PR[2]
Same code, but split into two commented blocks — much easier to follow.
2.4 Write modular code
Break logic into small, reusable blocks; each should perform a single task:
call moveToTarget(); // handles motion to target
call checkSafety();  // checks for collisions
On the FANUC TP: jump to a labeled block to reuse it, e.g. to turn digital outputs 0–10 off:
!turn IO off
JMP LBL[10]
The reusable block itself:
!turn IO off
LBL[10]
R[1] = 0
LBL[11]
IF R[1] > 10, JMP LBL[12]
DO[R[1]] = OFF
R[1] = R[1] + 1
WAIT .1s
JMP LBL[11]
LBL[12]
2.5 Use meaningful defaults
Define default values once, early, instead of re-initializing constantly. Use them for:
- Speeds:
maxSpeed = 100 - Positions:
Home = [0,0,0,0,0,0] - Progress tracking: split a single counter into several meaningful flags instead of one opaque number.
- Avoid:
stepsExecuted = 0counting up to12. - Prefer: separate, named steps —
basePlaced(0/1),polesPlaced(0..4),shelvesPlaced(0..n),cartFinished(0/1).
- Avoid:
2.6 Avoid deeply nested logic
Refactor nested conditions into flatter, clearer structures:
// Avoid this:
if (condition1) then
  if (condition2) then
    if (condition3) then
      ...

// Prefer this:
if (condition1 and condition2 and condition3) then
  ...
See CodeAesthetic’s explanation for more on why flat logic is easier to follow.
On the FANUC TP: nesting can only be done by calling programs. Never nest more than two levels deep, and keep a clear distinction between levels: level 1 is
MAIN, calling level-2 programs (steps/functions). Avoid a level 3 — reserve it for common repeated tasks, like a skip-condition detection or a specific combined movement. If you find you need a fourth level, restructure your code instead (e.g. end the nested program before jumping to another).
Level 1 Level 2 (nested in 1) Level 3 (nested in 2) MAINGETBASEFINDHOLEPICKPOLEPLACEPOLE...
Related
- How to set up tool, jog, and user frames on a FANUC teach pendant
- How to use motion types, offsets, and speed registers on a FANUC teach pendant
Rewritten and consolidated (Sept 2026) from the original student how-to’s: How to structure code for good readability.