In this how to, we will create a visual recognition model with YOLO8. We will also use roboflow to create the necessary database.
A how-to has already been created for creating a database by roboflow. See the link below (we will only go to the “custom train and upload”):
You can follow this how-to to the custom train and upload. Here we are going to make a few changes.
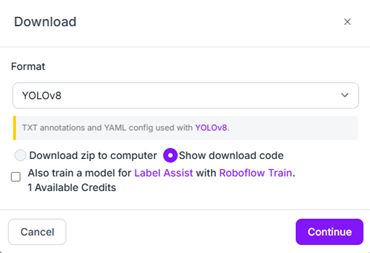
So first, after you press download dataset, you must uncheck the checkbox to train a roboflow model. Select your format to YOLOv8. (See picture below)
We are gonna use the Jupyter snippet, which should go along the ways off:
!pip install roboflow
from roboflow import Your project
rf = Roboflow(api_key=“Your personal api key”)
…
You can keep this to the side, we are going to use it later. But for now, we’re going to google colab:
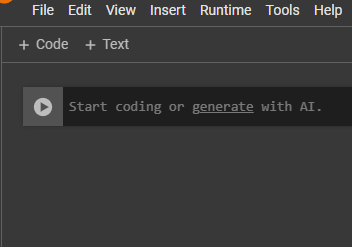
here you can choose new notebook (in drive), if you don’t get an option when opening you can also open one at File.
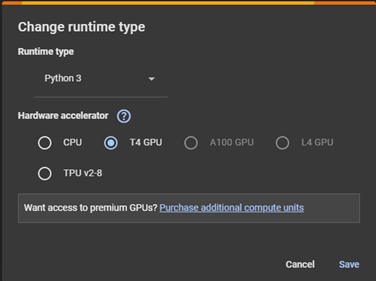
Before we start things we check if we are using the right GPU. For this you need to go to task bar and search Runtime. Here it says change runtime type. Set it to T4 GPU and then save it. You now use the GPU from google, these are faster and don’t have a big load on your CPU. You do have a max limit if you don’t have a premium account, but that purely means you can’t make the training too big.
Desired result:
We will now run code, you can use the +code button to create new lines. With this you can create a good organized document.
Now to start inserting the code into the respective order:
- This makes the set-up by installing the essentiels
!pip install ultralytics
!pip install roboflow
- Now everything gets imported:
import ultralytics
from roboflow import Roboflow
from ultralytics import YOLO
from IPython.display import Image
- Here comes your earlier roboflow snippet WITHOUT the install roboflow
from roboflow import Your project
rf = Roboflow(api_key=“Your personal api key”)
…
- You have to give full access to your drive, sounds scary but it is so that it can make a file map for the model.yaml.
from google.colab import drive
drive.mount(‘/content/drive’)
- Now we are gonna train the model. Don’t forget to rename the Chosen drive folder to a desired name. The code should make a drive map for you. You can try to make your own and insert the path if it doesn’t want to work.
Furthermore, with epochs you say how many images he has to train. The more often makes your model better but takes longer, and as mentioned before colab has limit that resets every 24 hours unless you have prenium. With 300 - 400 images you would have no problems.
!yolo task=detect mode=train model=yolov8s.pt data=/content/Chosen drive folder/data.yaml epochs=400 imgsz=640 plots=True
- As last we are gonna save the trained model on your drive with the following code.
!yolo task=detect mode=val model=/content/runs/detect/train/weights/best.pt data=/content/continuous_fire-6/data.yaml
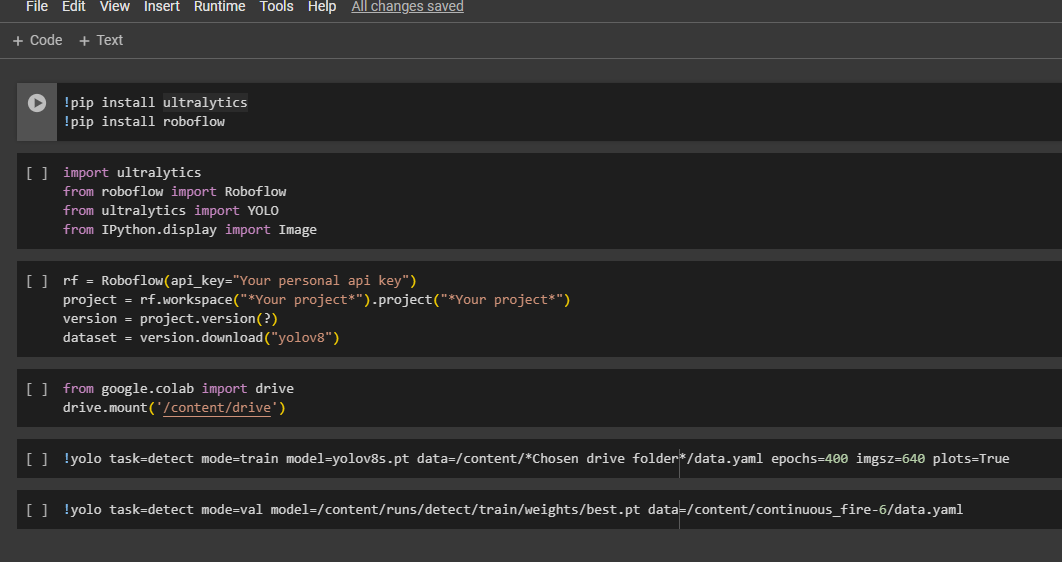
If you followed all the steps your document should look like the image below:
You can now start by activating all the code.
Only activate the next line if the previous code is done
You should be able to find your freshly made model in your drive map named as best.pt.
This is your model wich you can use in your applications such as python.


