VMWare preparation for use with TIA Portal
On RobotExchange there is an extensive getting started on TIA Portal, the getting started references to an “Up and running VMWare” instance. This document describes how to get the VM up and running.
Both VMWare Workstation player and VirtualBox can be used, this guide uses VMWare Workstation Pro.
For large software installers it can be useful to use virtualization to run another version of Windows next to your “original” windows installation (also named the Guest OS and the Host OS). The TIA Portal changes a lot of settings in your PC to run properly and there are also some incompatibilities between versions. Note that this is different from a “dual-boot” configuration, as the host is required to run the guest!
As VMWare states it:
Workstation Player is perfect for students, faculty, businesses and corporate users who need a small sandbox environment for testing or control. A simple user interface provides a streamlined approach and enables more focused use cases.
VMWare Workstation Player can be downloaded for free for personal use
https://www.vmware.com/products/workstation-player.html
Installation
The virtual machine comes preinstalled with TIA Portal V15.1 and V16 with the latest (as of the 5th of December 2020) updates.
Unzip the folder to a destination, for example C:\VM\TIA Prof 15.1..
In VMWare you can now go to File → Scan for Virtual Machines and browse to the location where you extracted the files. The VM should be visible under “My Computer”. Adjust the Memory and processor according to the specs of your own PC. VMWare will advice you on which values to use, in general more = better (TIA Portal recommended is at least 16GB of RAM).
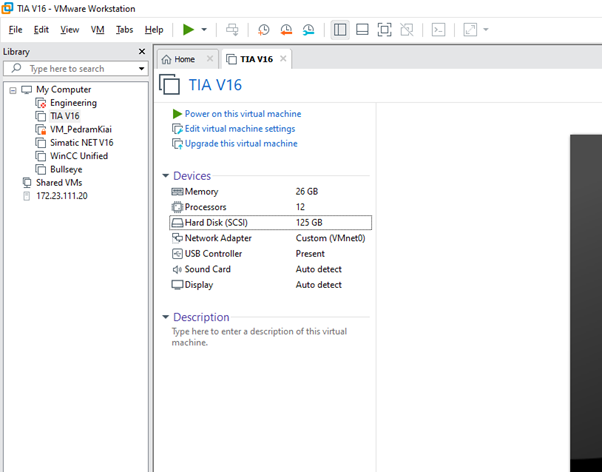
You can now press the Play button (Power on this virtual machine)
Useful tip: use Ctrl + Alt + Enter to toggle between full screen and windows.
Licensing
When the TIA portal is first launched the 21-day free trial can be activated. To use the software for a longer time a license key can be obtained from your teacher. The license keys are transferred from a USB stick to the engineering VM using the Automation License Manager.
Steps:
Insert the USB Stick into your PC
Connect the USB stick to your Virtual Machine
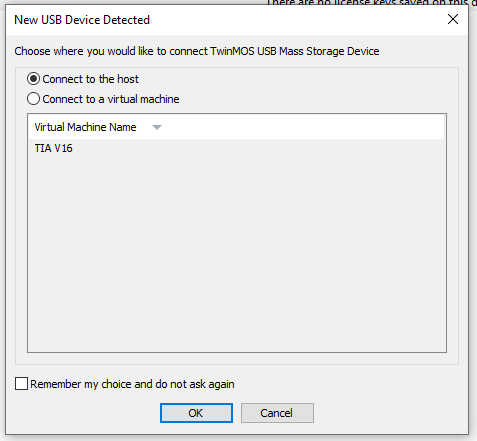
“Connect to a virtual machine” → Tia V16 → Ok
Open the Automation License Manager
Navigate to the “License_Key” location. If the list of locations is not visible on the left, go to View → Management view
Drag and drop the Step 7 license key to the Local Disk C location.
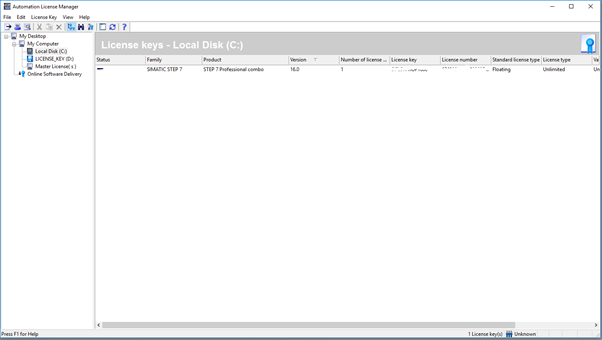
Congratulations, your software is now licensed!
It’s possible to connect and disconnect removal devices (such as USB devices) by going to VM → Removable Devices → Select or unselect your device.
Network settings
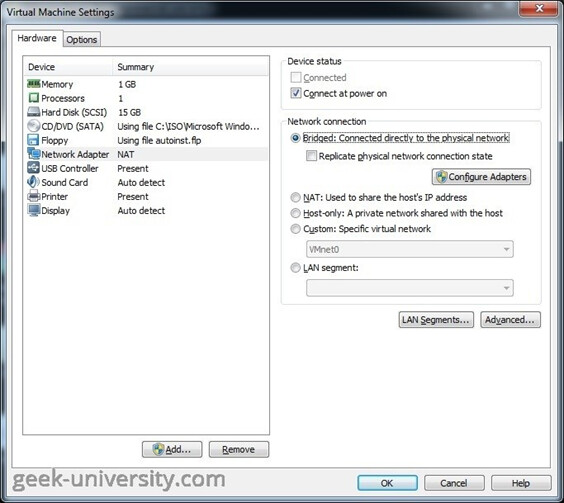
It is possible to connect your virtual machine to the different networks which are connected to your PC. Let’s say you’re connected through WiFi to the internet, and an ethernet cable between your PC and the PLC. In this scenario you want to keep the connection to the internet but also connect your PLC to the virtual machine. This is possible by bridging certain adapters to your VM.
In VMWare go to the settings of your VM → Network settings → Configure adapters. This brings up a popup screen with all available adapters. Only check the one you want to bridge.
The tool PRONETA is installed on the virtual machine. Using this tool, you can scan the network for Siemens devices. In the settings → Network Adapter you can select the network adapter which will be used to scan the network. In our case we will always use Ethernet0 (Intel Gigabit network connection), as this is the adapter which connects the VM with the bridged network.
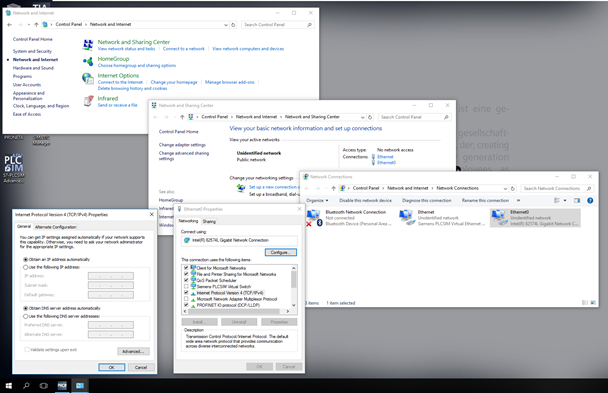
A scan using proneta should show the PLC and/or HMI you have connected, with the IP addresses of the interface you are connected to. It is now advised to change the IP Address of your VM to match the PLC network. This can be done by going to the adapter settings:
Start → Control Panel → Network and Internet → Network and Sharing Center → Change adapter settings → Right click Ethernet0 → Properties → Internet Protocol 4 (TCP/IPv4) → Properties.
The option to optain an IP address automatically is necessary when connection to the internet, however when connecting to a PLC we want to decide ourselves which IP Address we get. Change this IP Address to one matching the PLC, for example if the PLC is 192.168.0.1 with subnet mask 255.255.255.0 (see Proneta), then we want to use an IP Address in the same range, for example 192.168.0.20 with the same subnet mask, 255.255.255.0