Based on contributions by StevenVanDerGaag, Mathijs, aashish.
Once you have an annotated dataset (see How to annotate and label images in Roboflow for YOLO training), you can train your own YOLO model with the Ultralytics library. This guide covers preparing your data, and training either on your own PC or for free in Google Colab.
What you need
- A Roboflow dataset exported for your YOLO version, or its download link/code snippet
- Python with
ultralyticsinstalled (pip install ultralytics) if training locally - A CUDA-capable GPU for fast local training (optional — training also works on CPU, just slower). Ask your favourite search engine or LLM which CUDA version matches your GPU and PyTorch version.
- A Google account if training in Colab (no local GPU needed)
Steps
1. Decide what you’re training before you annotate
Before collecting images, decide exactly what you want to detect. Try to make your training images look like your real, final setup:
- Keep lighting consistent, or deliberately vary it (shoot at different times of day) so the model generalises to real lighting changes. An enclosed box or added lighting reduces variation if you want consistent conditions instead.
- Include some images without the object in frame, so the model also learns what “nothing here” looks like.
- Choose a project type in Roboflow that matches the shape of the problem: plain object detection draws a box around each object and is enough for most cases; keypoint detection finds a skeleton of points on the object, which gives more precise localisation for complex shapes; oriented bounding boxes (see How to train a YOLO OBB model and get the center and angle of detections) additionally give you the object’s rotation.
2. Get your dataset onto your machine
Follow How to annotate and label images in Roboflow for YOLO training to annotate and export a dataset. When exporting, uncheck “train on Roboflow” and pick the format for your Ultralytics YOLO version. You can either download a zip, or copy Roboflow’s generated Python snippet, which looks like:
pip install roboflow

from roboflow import Roboflow
rf = Roboflow(api_key="YOUR_API_KEY")
project = rf.workspace("YOUR_WORKSPACE").project("YOUR_PROJECT")
version = project.version(1)
dataset = version.download("yolov8")
Unzip your downloaded dataset (or note the download folder if you used the snippet) and locate data.yaml inside it — you’ll point Ultralytics at this file.
3. Option A — train locally
Install the required packages:
pip install ultralytics
Train from a Python script:
from ultralytics import YOLO

# Load a pretrained YOLO11n model
model = YOLO("yolo11n.pt")

# Train the model on your dataset for 100 epochs
train_results = model.train(
    data="path/to/data.yaml",  # Path to your dataset's data.yaml
    epochs=100,                # Number of training epochs
    imgsz=640,                 # Image size for training
    device="cpu",              # Device to run on: "cpu", 0, or [0,1,2,3] for GPU(s)
)
data.yaml (generated by Roboflow, or written by hand) looks like this:
path: C:/datasets/my_project
train: images/train
val: images/valid

names:
  0: my_class_name
Or train from the command line instead of a script:
yolo task=detect mode=train data=path/to/data.yaml model=yolov8n.pt epochs=100 imgsz=640
If you need to train a keypoint model instead:
yolo task=pose mode=train data=path/to/keypoint_dataset.yaml model=yolov8n-pose.pt epochs=100 imgsz=640
epochs is how many times the model sees the full dataset; imgsz is the pixel size images are resized to for training. More epochs and a larger image size generally improve accuracy but take longer to train and to run later. 640x640 is enough for most cases; go up to 1280x1280 only if you need to detect small details.
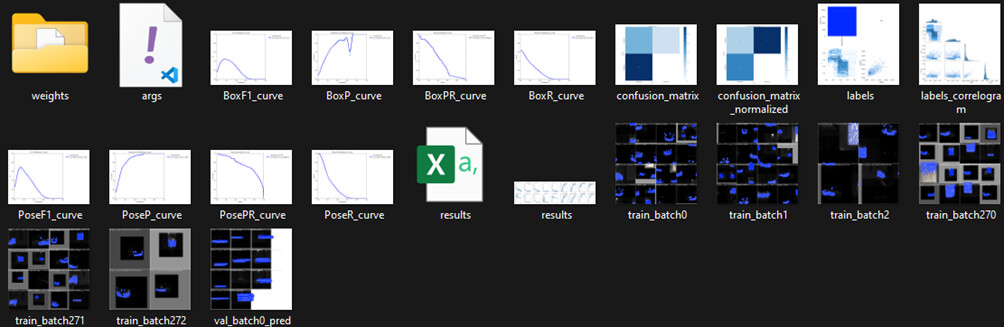
When training finishes, the terminal prints where the run was saved — by default runs/detect/trainX/weights/ for object detection, runs/pose/trainX/weights/ for keypoints. best.pt inside that folder is your trained model.
4. Option B — train in Google Colab (no local GPU needed)
Open Google Colab and create a new notebook.
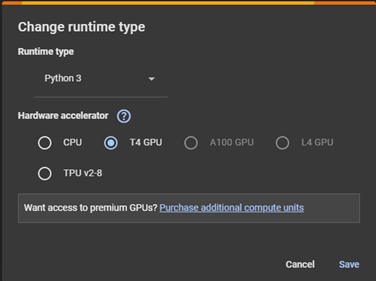
Set the runtime to use a GPU: Runtime → Change runtime type → T4 GPU → Save. This is much faster than a CPU and doesn’t load your own computer. Free accounts have a usage limit that resets roughly every 24 hours — keep your training runs within that.
Add each block below as its own cell (use the + Code button) and run them in order:
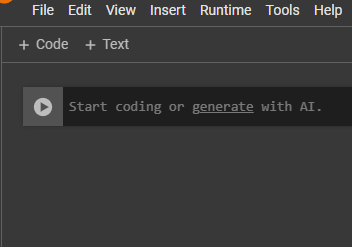
1. Install the required packages:
!pip install ultralytics roboflow
2. Download your dataset. Use the snippet Roboflow generated for you in the export step (see step 2 above):
from roboflow import Roboflow
rf = Roboflow(api_key="YOUR_API_KEY")
project = rf.workspace("YOUR_WORKSPACE").project("YOUR_PROJECT")
version = project.version(1)
dataset = version.download("yolov8")
This downloads the dataset straight into /content/<your-project-name> in the Colab session — there’s no need to mount your Google Drive for this.
3. Train the model:
!yolo task=detect mode=train model=yolov8n.pt data=/content/YOUR_PROJECT/data.yaml epochs=100 imgsz=640 plots=True
epochs controls how long training runs — 300–400 images is usually enough for good results with a few hundred epochs, but start smaller and increase if the model underperforms.
4. Validate the trained model:
!yolo task=detect mode=val model=/content/runs/detect/train/weights/best.pt data=/content/YOUR_PROJECT/data.yaml
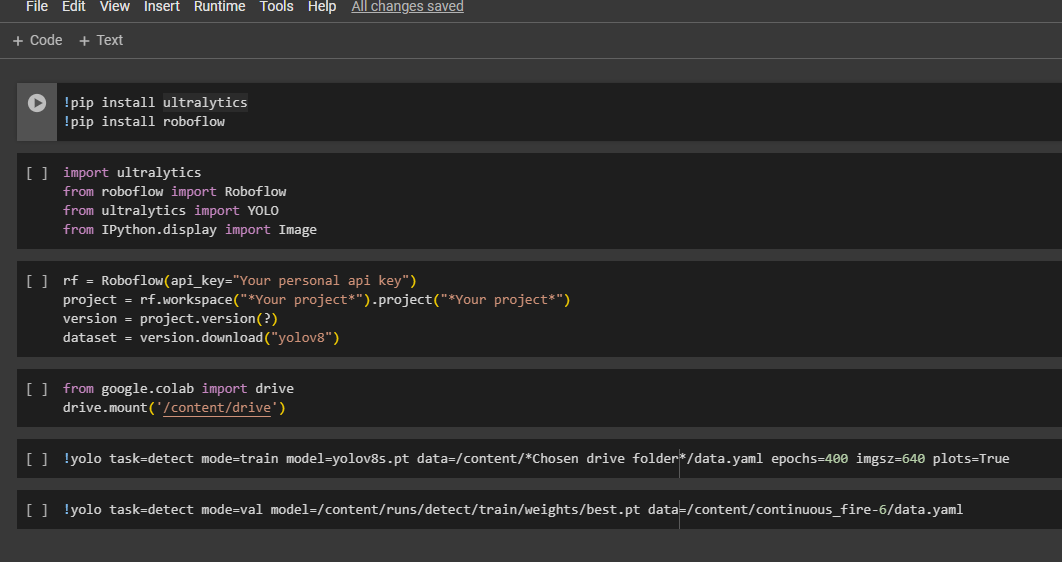
Your finished notebook should look roughly like this:
5. Download your trained model. In the Colab file browser (left sidebar), navigate to runs/detect/train/weights/best.pt, and download it to use in your own applications.
Troubleshooting
- “OMP: Error #15: Initializing libiomp5md.dll…”: run this before your training command, then try again:
set KMP_DUPLICATE_LIB_OK=TRUE - Don’t mount your whole Google Drive just to get the dataset in. An earlier version of this guide did that, but it’s unnecessary and risky (it gives the notebook full access to your Drive). The
Roboflow(...).download("yolov8")snippet above downloads directly into the Colab session — use that instead. - If your CLI/script complains it can’t find a class name or image, double check
data.yaml— thepath,train, andvalentries must match your actual dataset folder layout.
Related
- How to annotate and label images in Roboflow for YOLO training — annotate and export a dataset in Roboflow
- How to run a trained YOLO model on a webcam and save detections with OpenCV — run your trained model on a webcam and save detections
- How to train a YOLO OBB model and get the center and angle of detections — training with oriented bounding boxes
- How to augment images and OBB labels to expand a YOLO training set — augment your dataset to get more training images
Rewritten and consolidated (Sept 2026) from the original student how-to’s: How to train a visual recognition model using YOLO8, How to train and implement an AI optimally:.